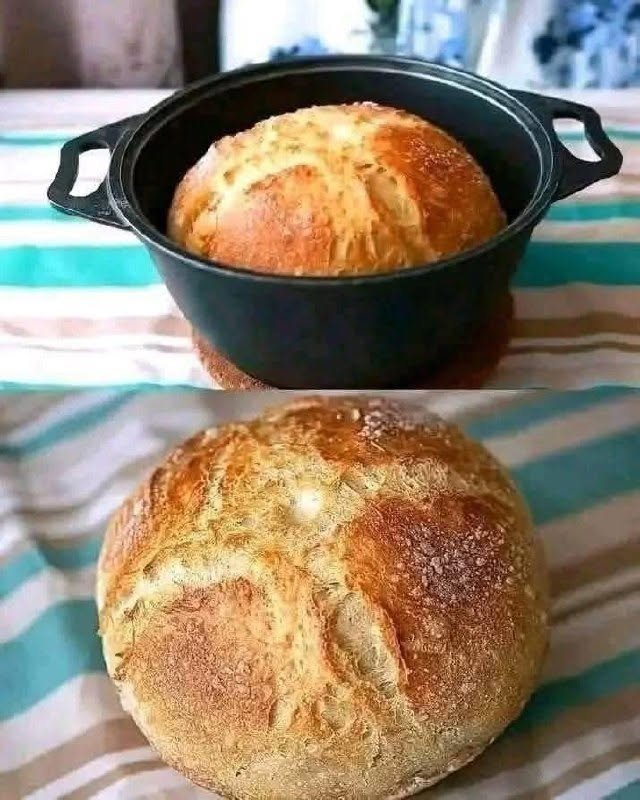
Easy No-Knead Rosemary Artisan Bread
There is something incredibly satisfying about pulling a freshly baked loaf of homemade artisan bread from the oven. The crisp crust, warm aroma, and soft interior make every slice feel special.
This Rustic Rosemary Artisan Bread delivers all the qualities you’d expect from a bakery-style loaf: a beautifully golden, crunchy crust, a soft and airy crumb, and the unmistakable fragrance of fresh rosemary.
The best part is how simple it is. You don’t need a stand mixer, bread machine, or complicated techniques. With just a few basic ingredients, a Dutch oven, and plenty of time for the dough to rise, you can create impressive homemade bread right in your own kitchen.
Why You’ll Love This Rosemary Bread
- No kneading required
- Only a few simple ingredients
- Crispy, bakery-style crust
- Soft and airy interior
- Fragrant fresh rosemary flavor
- Minimal hands-on preparation
- Perfect for beginner bakers
- Excellent with soups, salads, and roasted meals
Ingredients
This rustic bread uses four simple ingredients:
- All-purpose or bread flour
- Water
- Salt
- Fresh rosemary
Fresh rosemary provides the most vibrant aroma and flavor, but dried rosemary can be used if necessary.
Step-by-Step Instructions
1. Combine the Ingredients
Add the flour, salt, and finely chopped rosemary to a large mixing bowl.
Pour in the water and stir with a wooden spoon or sturdy spatula until the ingredients come together.
The dough will look rough and somewhat sticky. That’s exactly what you want for a high-hydration, no-knead bread.
2. Let the Dough Rise
Cover the bowl tightly with plastic wrap or a clean kitchen towel.
Leave the dough at room temperature for several hours, preferably overnight.
During this long fermentation, the dough develops structure and flavor without traditional kneading.
You should notice that the dough becomes noticeably larger, bubbly, and airy.
3. Shape the Dough
Lightly flour your work surface.
Carefully transfer the dough onto the surface and gently shape it into a round loaf.
Avoid aggressively pressing or kneading the dough because you want to preserve the air bubbles created during fermentation.
Place the shaped dough on a piece of parchment paper and let it rest while you prepare the oven.
4. Preheat the Dutch Oven
Place a Dutch oven with its lid inside the oven.
Preheat the oven to approximately 450°F (230°C).
Allow the Dutch oven to become thoroughly hot before adding the dough.
The preheated pot helps create the intense heat and steam environment responsible for the bread’s crisp crust.
5. Bake the Bread
For Complete Cooking STEPS Please Head On Over To Next Page Or Open button (>)